| March 23, 2004 | HOME | ||||||||
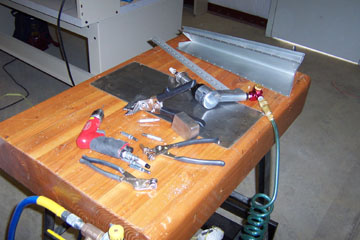
As day two of the empennage building process starts out, the trim tab spar is ready to be riveted to the trim tab. Note that, like everything else, it has been deburred and dimpled, ready to close. Things are moving and I was surprised how much energy I felt this morning after working hard for a good 9 hours yesterday.
With the spar riveted in place, we can close the trim tab. Well, not yet. There always seems to be 2 or 3 more steps, no matter how much you have done!
Next, we need to drill the end closures and rivet the thing closed. Oh, we also need the trim tab horn. I have a little trouble understanding why we call it a "horn", but I'm accepting it...
The trim tab horn, (previously deburred) is riveted to the trim tab and finally one little thing is starting to look like a whole part
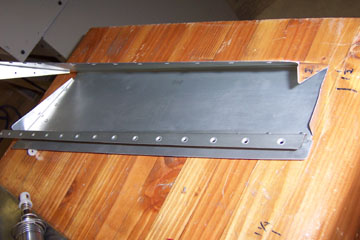
Now with my attention diverted (as it easily is), I'm dropping rivets around the trim access hole in the left elevator skin. I'll tape over it and back-rivet the reinforcement plate in place.
Here's the reinforcement plate in place with the rivets driven.
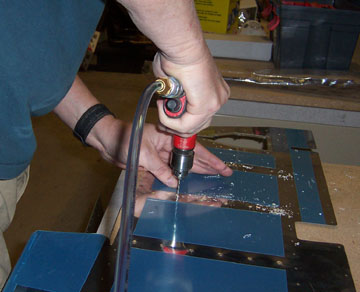
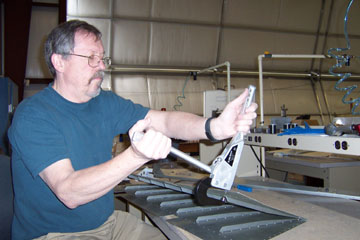
Bill helps drill some holes to size in the elevator skin.
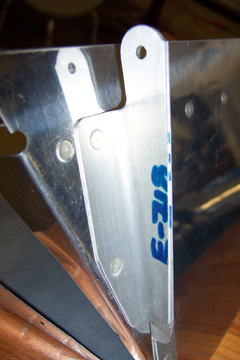
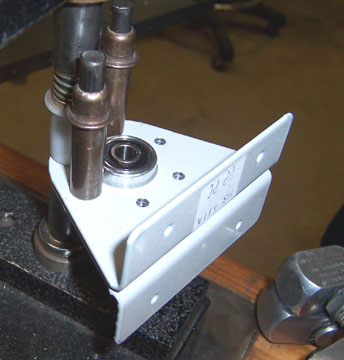
Here is the elevator hinge bearing being installed between the elevator hinge bracket halves. This is representative of the rudder as well, so I won't show you that hinge bearing/bracket setup. The bearing is simply sandwiched between the two brackets and riveted...
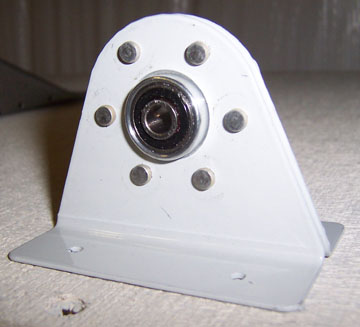
It's done! It's amazing, this is a component that is actually complete (just not installed yet - see, always a few more steps).
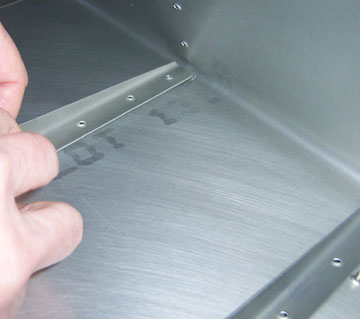
Because of the tension caused by the bend at the trailing edge of the elevators, there can be a minor gap between the tip of the stiffener and the elevator skin. Remember that the stiffener is weakest at that point and you can't get a rivet very close to the end. The solution -- mix a little ProSeal and dab a "small" amount on the end of the stiffener. Mix it a little on the slow side. It will absorb the vibration and there won't be any chance of skin fatigue. I know, I'll receive emails telling me that there are thousands of RVs (and others) flying out there that don't have a problem. So what? I want as much confidence in this plane as I can get, so I'm doing it. No need to email!
The end of the stiffener with the ProSeal goes down first and it's ready to rivet.
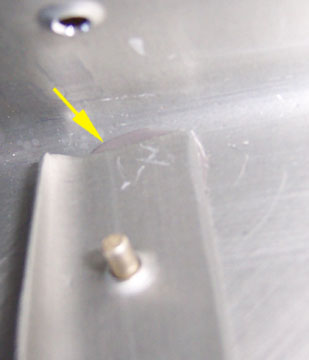
When pressed down, it looks like below. You can barely see the excess oozing out from under the stiffener. This technique is one of many from Wally Anderson at SynergyAir....
|
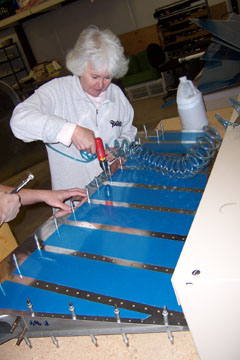
So back to drilling out the counterbalance skin on the rudder, I'm not just mixing these things up. This really is the sequence. It seems strange, but trust me, it all comes together from seeming chaos to a smooth and satisfying finale. OK, it's not really chaos because the folks at SynergyAir know what comes next and once you start doing it, it really does make sense.
My helper husband pulls clecos while I drill. There's sure lots of this activity...
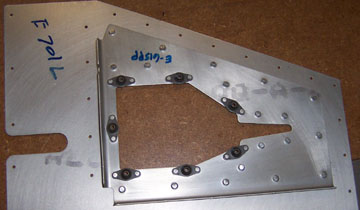
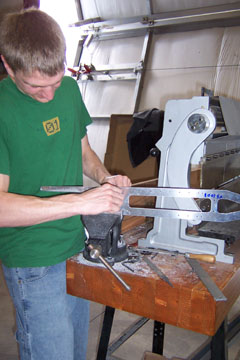
I'm guessing that the number of folks who can tell me what (in precise detail) what this part is are not out there in great numbers. Care to guess?
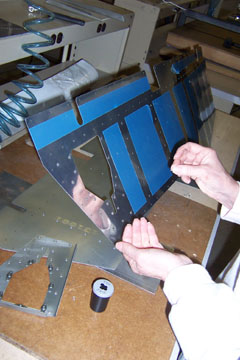
The frame of the vertical stabilizer is partially riveted and the rear spar is fit in place. The spar will be removed so the skin rivets can be bucked.
For all you builders who don't have a supportive husband, you have my sympathy. Here's mine, finishing up his assignment to rivet the stiffeners to the right elevator skin. He promised he would learn to do this and I told him he wouldn't have do much once he learned. He's still learning.... But, he is getting those little tips glued down with ProSeal!
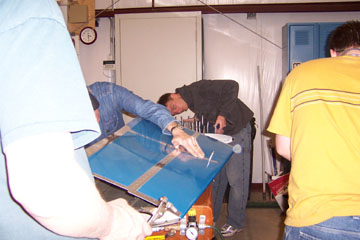
OK, this is a shot of what happens at SynergyAir if you say, "I can seem to make this fit." Everyone comes rushing over to help and pretty soon you have to fight them off to get back to work on your stuff! It's actually great, but want to do it myself!
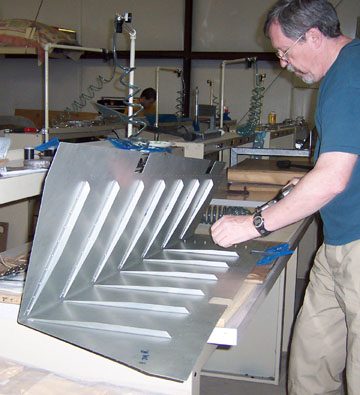
Oh my! When I stepped back and looked at the horizontal stabilizer, I had to gasp for breath. All that stuff really started looking like airplane parts, real identifiable parts like you see on real airplanes! Isn't it beautiful?
Meanwhile, my supportive husband is still working on that right stabilizer -- yes, he's still learning
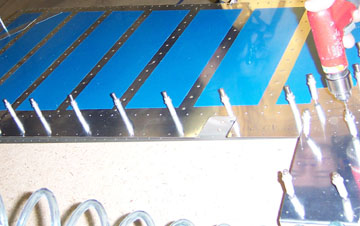
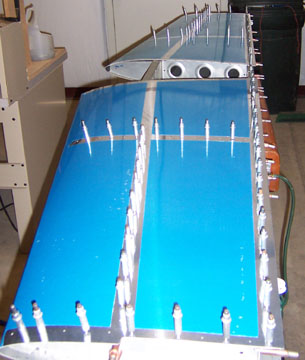
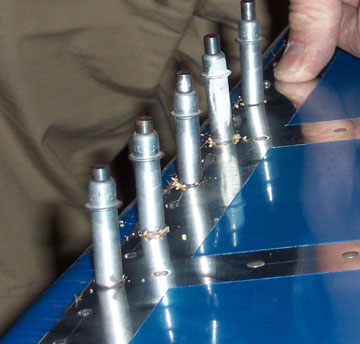
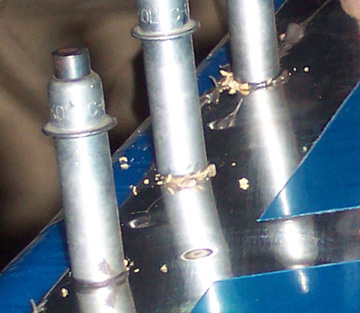
I'm jumping to drilling the trailing edge of the rudder. The rudder has a tapered trailing edge piece that gets bonded between the two skins. The layout, drilling and riveting of this critical. Van's recommends no more than 0.1" bow. To get there, you bond (ProSeal again), cross-rivet with double flush riveting. That just means you align the rivet head on one side and the bucking surface on the other with the angle of the skin. It's a slightly weaker rivet than normal, but there are way more rivets than needed in this row!
Here's a shot showing some of the ProSeal sneaking out from the clecos Sneaky stuff, yeah? Obviously, one has to use a little care here or ProSeal, which sticks best to things you don't want it to, will be stuck to everything.
Is the trailing edge straight? I'll find out tomorrow. It's the end of another very long day. The second day. I was exhausted, but I stood in front of all the parts that were taking shape and I was amazed at how far things had progressed in 2 days. For the first time I began to think it really might be possible to get through all of this in a week. I'm tired, hungry, cranky and my feet hurt, but I'm not in a big hurry to leave. I realize I have a smile on face and I am immensely satisfied.
Previous Day | HOME | Next Day |
||||||||