| March 25, 2004 | HOME | ||||||||
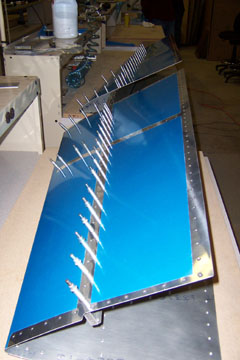
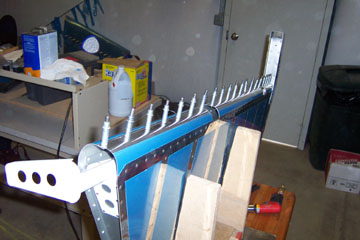
Remember how that horizontal stabilizer was all together and looking whole? Well, now it's all back apart again. It's been deburred and the all dimpling is done, so it goes back together to be riveted.
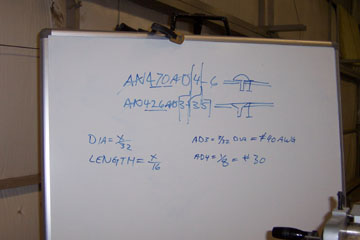
Wally's explanation of rivet designations. I took a picture of it -- hope he doesn't mind, but it's a good reference.
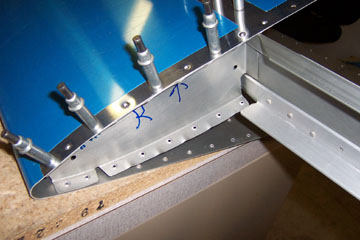
Back to the business of that horizontal stab, the front spar is clecoed to the top skin (or is that the bottom skin) on both sides.
Get it fit on one side then the other. Cleco every other hole because a smooth skin is important.
You can see the front inner and second ribs are clecoed on both sides.
Not to work on any one thing for too long, I'm back to riveting the right elevator.
With the riveting done, my helper hubby is bending the leading edge of the right elevator. He's still learning!
I'm really glad he's along, because I quickly learned that my hands are not strong enough to do the bending. The tough part is to get a nice smooth radius.
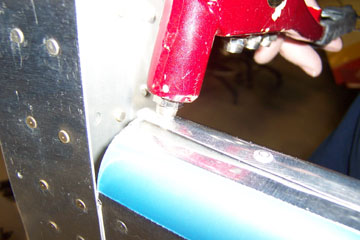
With the bending complete, the two sides are overlapped, drilled and clecoed.
|
This goes together with the much-hated blind rivets (pop rivets in my vernacular). The fit should even and smooth down the length of the assembly. There should be no sections gapping open or bent down from the riveting. It's not right yet in this picture.
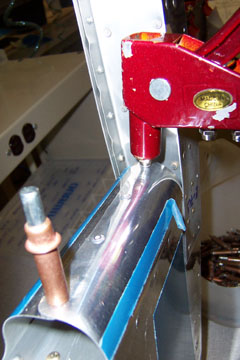
Just another picture as the rivet goes in. The skin has pulled down and the fit is good.
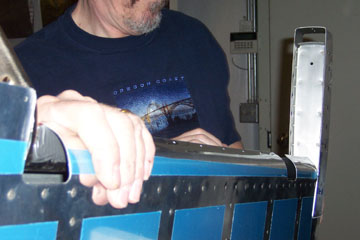
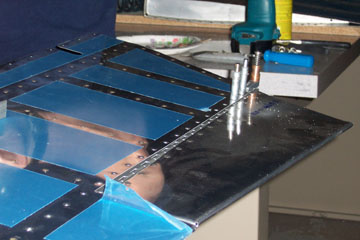
Next, it's time to get back to that trim tab. The hinge has been riveted to the tab. Holding it in perfect alignment, drill the first hole and cleco at one end. From there on, one hole, one cleco, next hole, another cleco. You can't let this one wander, but you don't want any alignment tension on the hinge or it will bind, wear and be difficult to remove.
Drilling the elevator trim tab hinge to the elevator -- note the importance of proper hand position! This could result in hand cramps!
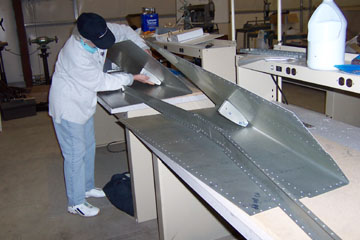
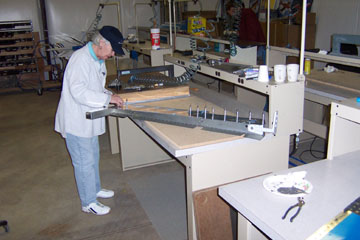
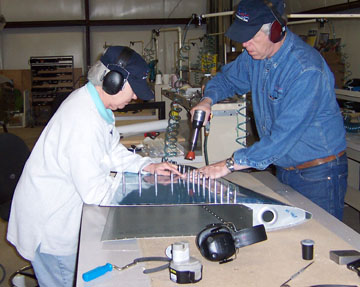
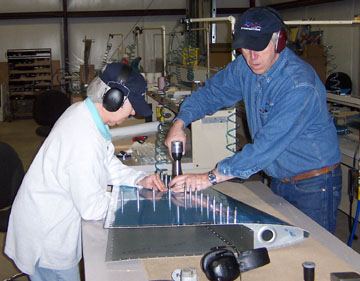
Wally Anderson of SynergyAir and I work together to rivet the horizontal stab. This is definitely a 2 person job. I'm bucking and he's riveting (or did you already figure that out?).
Turn your head a little, Wally, so you can better listen for how many taps of the hammer. Was it 5 or 6? I hope it wasn't 7!
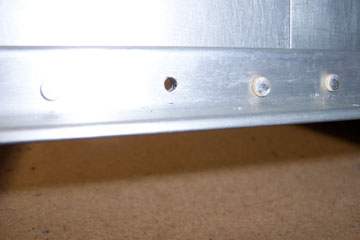
This is just a hole where a rivet needed to be drilled out. It looks good and didn't get enlarged by the drilling process, so it's ready for another rivet.
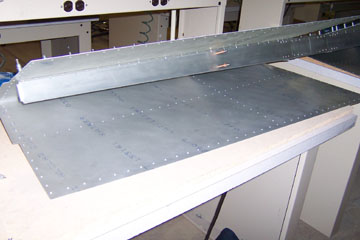
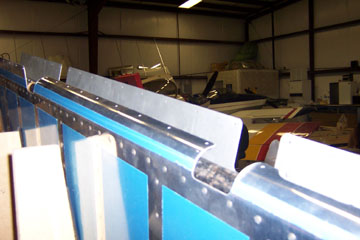
Checking the fit of the front horizontal stabilizer spar to the skin. The center section of the spar does NOT go under the skin, but should fit up close. This look perfect.
Previous Day | HOME | Next Day |
||||||||