| June 18, 2004 | HOME | ||||||||
Today provided a little more time to get back to the RV. I focused on the right elevator. You might ask why I didn't fit and balance both at the same time. I don't have an answer. I just did the left one first and now I'm getting to the right. First though, a word on finished work, particularly torquing nuts and bolts and some other final assembly. There has always been an issue in mechanical assembly with the, "how do I know it's done?" issue. What I mean is, when you've installed and torqued a bunch of bolts and gone on to something else, it's easy to look back a few days or weeks later and not remember. You have to recheck, or worse, you assume all were properly torqued. Bad news if you missed one and it's critical. The solution has long been to mark them as done. So, all that wind just to say I have my own way of doing that -- my own formula. I take a 1/4 pint or so of bright acrylic lacquer and let it stand in an open container (the jar below) for a few days. I chose a lacquer tinting base called light chrome yellow. When it gets goopy enough it is perfect for marking the object as complete. One glance and I know I don't have to touch it again.
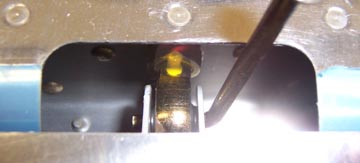
Below is an (not very good) example of how I use it. Here I have final torqued the lock nut on the elevator bearing. A small dab of the yellow lacquer across the threads and onto the nut indicates it's complete. I always know when I look at it that I don't have to check it again. If it does shift loose or get removed for some reason, the lacquer cracks and falls off. Really dry lacquer is brittle and any change shows up right away. You can buy commercial products for this, just not in the color of yellow that I like...
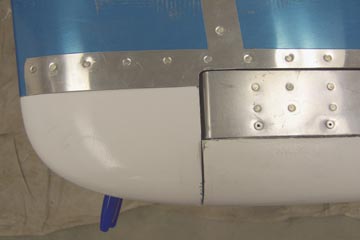
I rough-cut the leading edge tips of the horizontal stabilizer and fit them to match the line of the elevator fiberglass tips. You can see that things are still pretty rough here, but I'm only after a ballpark fit for the moment.
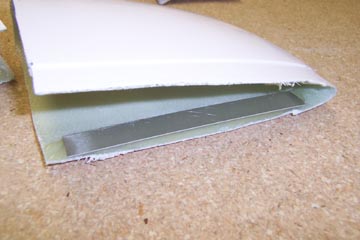
Next, I cut some .025 alclad strips for reinforcements. They'll be glued in place and they drilled through so that the rivets won't pull through the fiberglass.
|
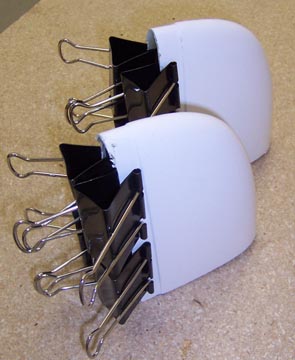
HS tips with backing plates glued in place (I used T-88, but most glues that don't get too hard will do) curing. Note the high-tech clamping system.
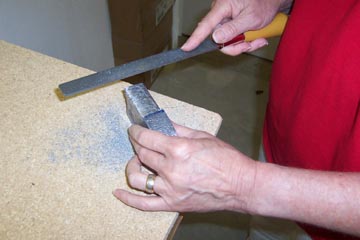
While the glue did it's thing, I filed and shaped the right elevator counterweight.
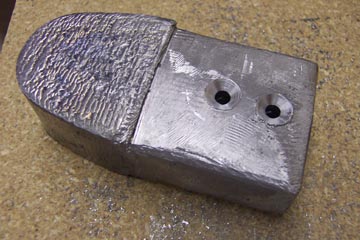
When the weight was shaped to fit in the elevator, I drilled it and countersunk the holes to accept the countersunk skin that it will slip into before the screw lock it in place.
Finally, I got a little time to trim-to-fit the elevator counterbalance arm and HS skin clearance. That made a day for me.
Previous Day | HOME | Next Day |
||||||||