| October 7, 2004 | HOME | ||||||||
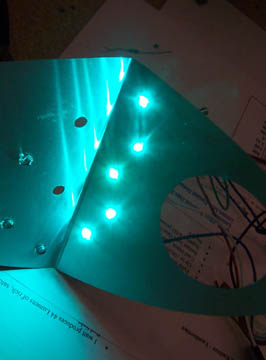
It's been a long dry spell. After the trips to Arizona and Oregon, I had company for a week. This is the first day of airplane work I've had in a long time and tomorrow I have to go to a birthday party. The day after tomorrow I'm going to Nevada for a few days. Will this thing ever get built? I started the morning by trying out one bank of the nav light LEDs. There are 2 banks per side in the new setup. It's working. I've been playing with adjusting brightness, blinking and varying the intensity. In the end, I'm sticking with plain old on and off.
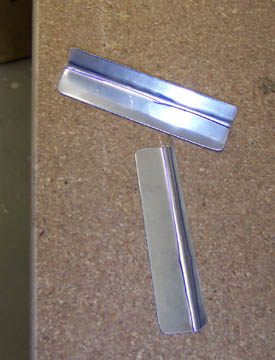
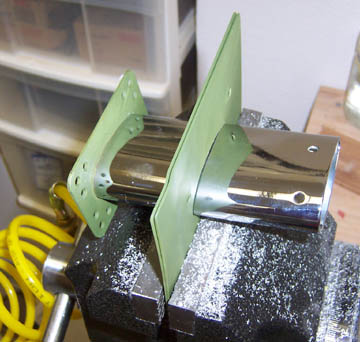
As a first step to installing the pitot tubes, I cut out a couple pieces of .063" aluminum and bent them to 90 degrees.
These will be support brackets for the pitot tube perches on each wing.
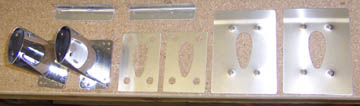
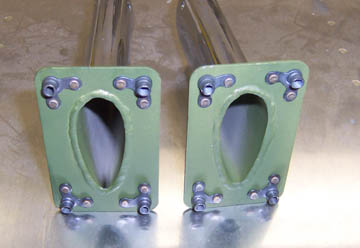
Here are all the mounting parts including the brackets and the chrome pitot tube housings. Yes, I know there are 2 of them. Yes, I am installing dual heated pitot tubes and pitot-static systems. There will be redundant attitude, performance and navigational systems. That wouldn't make much sense if it wasn't carried through to the source systems.
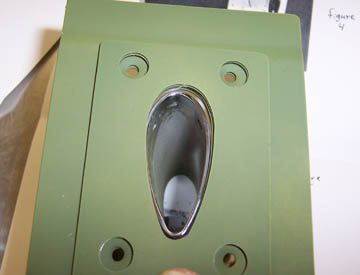
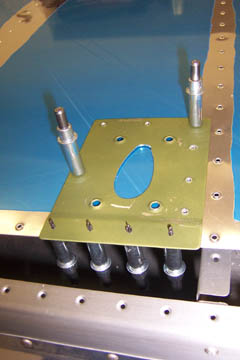
I primed the plates and found that the pitot bracket openings were too small for the brackets.
|
A little careful work with a die grinder and the openings were a snug fit around the pitot brackets.
These 90 degree #8 nutplates come with the pitot brackets and simply need to be riveted in place. It is all primed to reduce corrosion from contact with dissimilar metals.
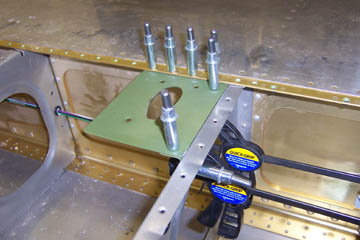
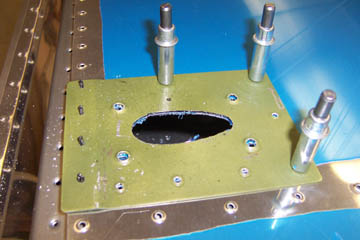
Here is the mounting plate positioned at the first rib outside the aileron bellcrank bay. The fabricated angle bracket is riveted to the rib and the plate will be drilled and riveted to the bracket. The primary point of reference, is the intersection of the rib and the spar.
I used the drilled bracket as a template for drilling the skin. All holes require countersink since the bracket is riveted through the skin. Well, it doesn't actually have to be, but doing so provides extra strength.
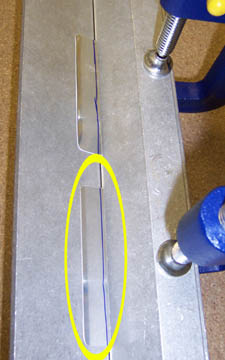
The final step before assembly is to cut the hole for the pitot tube bracket in the skin using the support bracket as a template.
Previous Day | HOME | Next Day |
||||||||