| February 21, 2009 | HOME | |||||||||
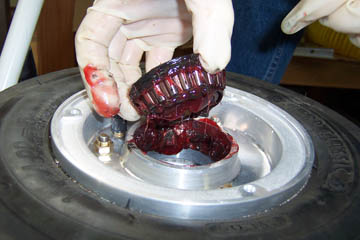
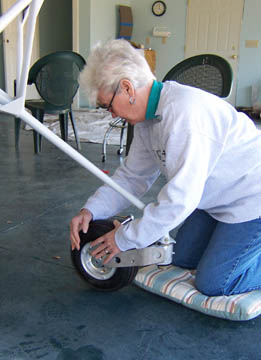
The middle of winter has forced a long break, but I got back to work and greased up the nose wheel bearings. There was nothing different about this from the mains. I used a packing press to force the grease into clean bearings.
After greasing the race on each side, I pressed the bearings into place.
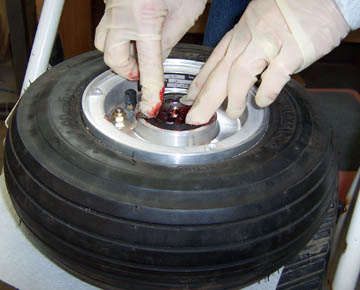
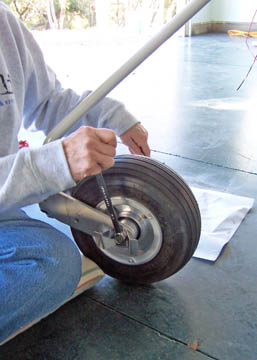
Each side gets a spacer that both compresses the bearings and carries the axle bolt.
The spacer is an easy hand press fit in the bearing.
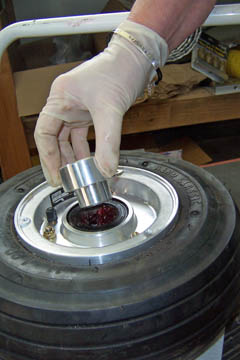
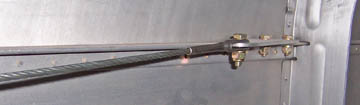
The wheel assembly (with bearings) slips in between the forks, don't they?
|
Well, they almost fit. I had to spread the forks to get the bearings in place. That put some pressure on the bearing even without the axle bolt in place.
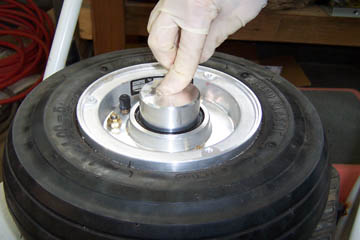
The last step is to install the wheel pant brackets over the axle bolt and tighten the nut. There was a problem. The tension from the forks made the bearing fit too tight even before tightening the axle. I stopped without resolving the problem, saving it for another day. I lightly tightened the axle and left it that way.
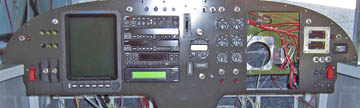
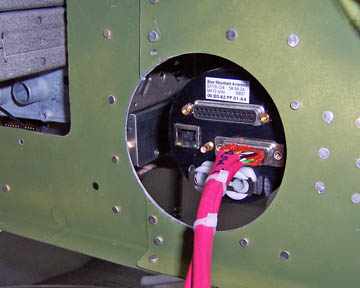
Meanwhile, panel work continues along with general wiring. Surprisingly, most things seem to work on first try. Perhaps I shouldn't admit I am surprised, but it looks impossible to me, so surprised I am...
behind the panel, the MFDs and radios are being connected. This is the back of the left Blue Mountain MFD.
I installed the shoulder harness cables. That's pretty uneventful after the work of installing the brackets. Seems like it should have been more difficult than just a bolt and nut.
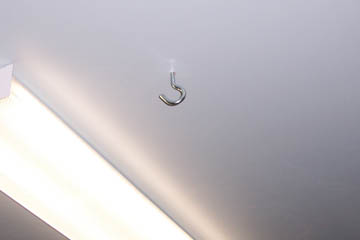
Finally I installed the last hook in the ceiling to hang parts to be painted. O. K., I caused it to be hanged. James Crowell actually did the work, but I am taking the credit and not counting the time!
Previous Day | HOME | Next Day |
|||||||||
| ... | ||||||||||
| The page contains James Crowel of Redding CA. | ||||||||||