| January 16 , 2010 | HOME | |||||||||
Getting back to the baffling, I tackled a pass-through for the wiring at the back top of the engine. The baffling fits snugly around the engine case (I guess I should have taken a picture of that) so there is no place for the wiring to pass through. The plans and some other builder suggest a hole with a grommet or some other protection. With that setup you have to disconnect and remove all the wiring in order to remove the baffling. I wanted something easier to maintain, so I installed 2 nutplates to support a removable tab.
Next I cut a channel out of the baffle from the bottom up between the 2 nutplates and rounded the top portion. The tab is simply cut from a piece of aluminum and shaped to fit the contour of the engine case at the bottom.
Here it is. Some plastic to protect the wire and we're done. This is sized to fit all the wire I expect to pass through it. If I find there is more, it will be simple to enlarge the opening. The baffling will stay sealed up tight and the wire will be protected.
Moving on, while I worked on the baffling, my husband went to the hangar and brought back the prop. Yep, prop, as in propeller!
I could show you pictures of us taking the prop out of the crate and so on, but that would be boring. Here's the label. It's an MT, but not composite like everyone thinks when the hear MT. It is a 2-blade aluminum blended airfoil prop that is lighter than Hartzell with no RPM restrictions with my engine.
|
Paying attention to the indexing, Bill held the prop in place while I gently tightened up the bolts. I am tightening it to proper torque yet. I am guessing it will have to come off again.
There it is. The prop is hanging on the front of the airplane. It's looking more and more like something that can fly.
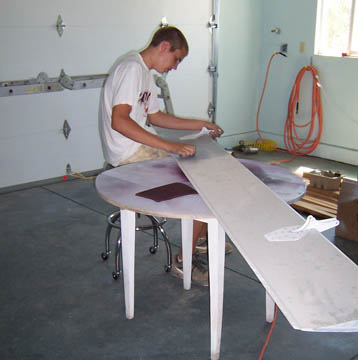
While I was working on my airplane, Bill is taking advantage of James' enthusiasm for airplanes by "allowing" him to scuff the flaps of Bill's Glastar. The picture is of James.
While waiting for Dennis to fly over (more about Dennis in a moment) I assembled the last component for the light dimmer. Instead of attaching all the wiring directly to the dimmer, I am running the 4 dimming circuits out to block for easy maintenance.
Now, about Dennis, the truth is, it's not about Dennis at all. It's about radios. Dennis, who lives about 150 miles away is flying up today. I have rolled the airplane out of the shop so we can test the radios. That's really the final test in panel before the front skin goes on. Dennis will call when he gets reasonably close. So, how did it go? It went great! Both radios worked flawlessly, reaching out 80 miles or more in transmit while the airplane was sitting on the ground with trees all around. I was worried about this one. My husband was worried about this one (he wired the radios). All in all, it was a long, but successful day.
Previous Day | HOME | Next Day |
|||||||||
| ... | ||||||||||
| The page contains Kathleen Evans RV-7l of Redding CA. | ||||||||||