| April 20, 2010 | HOME | |||||||||
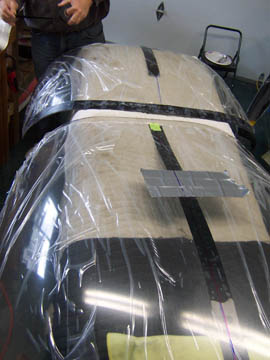
After the cut is made, it's carefully inspected for cracks. None of the dreaded cracks are found.
I sanded all the cut edges taking off the sharp corners and removing any nicks.
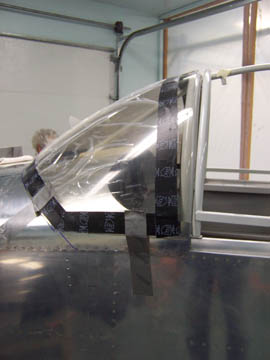
The first thing to fit is the windshield. It was pretty close after the cut and a little trimming.
You can see a little gap at the front left, but that is not significant. Sanding for final fit will fix it.
|
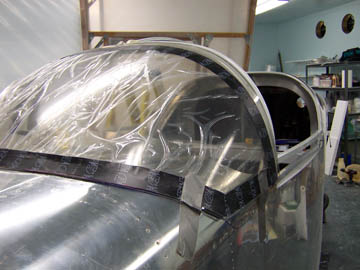
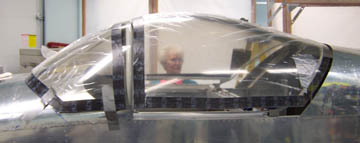
The slider is in place for a first look and it isn't perfect, but that's what's expected.
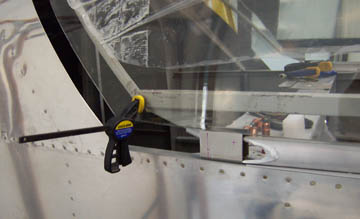
Carefully clamping the canopy in place reveals where additional trimming will be required.
A significant amount will be trimmed from the sides -- better too much than too little.
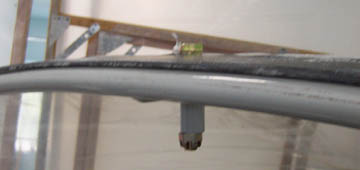
All the time the measurements are being taken, a emperor bolt holds the center point of the canopy in place.
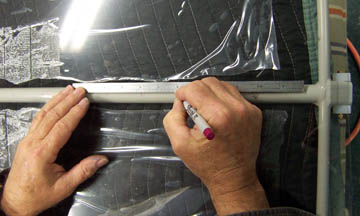
When all else is secured, the drill points are marked along the top of the canopy frame. Drilling these holes will permanently lock in the canopy center line.
Previous Day | HOME | Next Day |
|||||||||
| ... | ||||||||||
| The page contains Kathleen Evans RV-7 of Redding CA. | ||||||||||