| March 28, 2010 | HOME | |||||||||
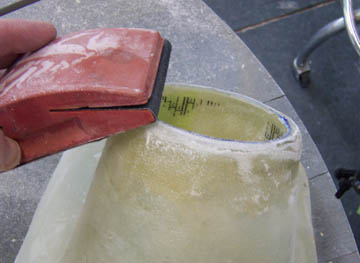
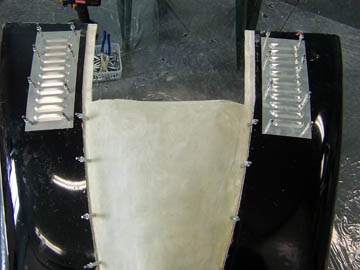
With a little -- now that a lie -- a lot of sanding, the intake is roughly to shape. Since this is not the final piece, but rather a mould plug, the detail work will have to be done, but not to the state of finish.
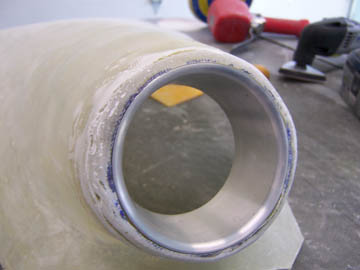
The real test is the extent to which the intake ring fits and, it does! In fact, the internal fit is nearly perfect with only edge work to do.
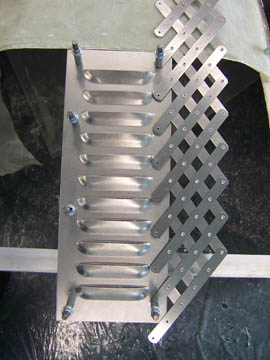
The cooling scheme of this cowl includes 2 sets of louvers, ala RV-10. Well, not quite. These are not the same louvers Van's sells and may not be the final louver design, but this is what is going in now.
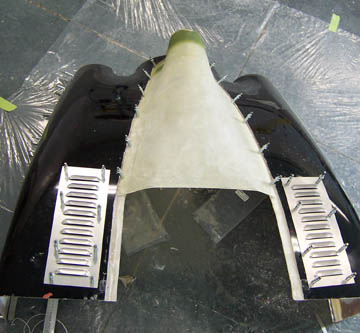
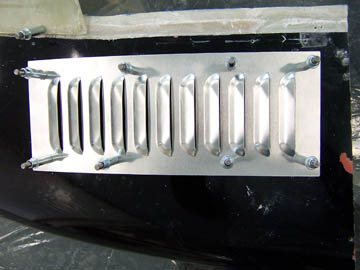
As far a placement goes, at least one person insists, "as far outside as possible." After some thought about airflow in the cowl, that didn't make sense.
Placing the louvers as far back as possible makes good sense. If they are farther forward, they will be in the high pressure of the underside of the cowl where the airflow is still being forced down.
When satisfied with the positioning, the louvers are marked and drilled and clecoed.
|
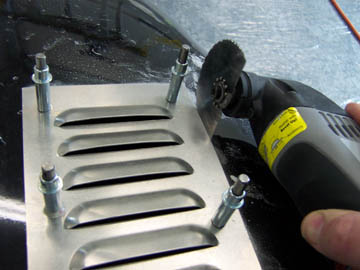
With the louvers clecoed in place, a vibration cutter does a nice job of cutting about half way through the fiberglass cowl.
Checking the lines indicated that I hadn't cut through the cowl at any point and that the lines were straight and connected at the corners.
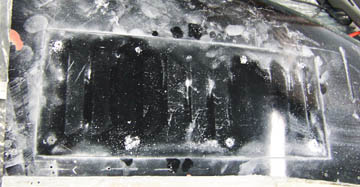
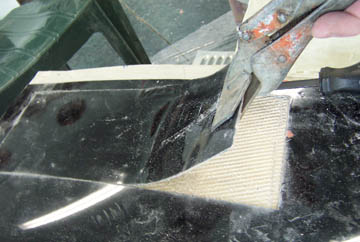
Beginning the peel was tricky. It took some careful prying with a heavy blade to break a layer free.
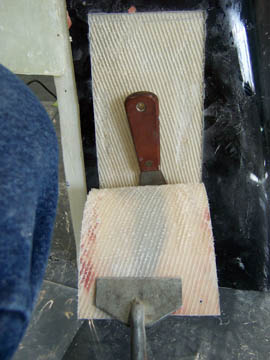
Extra wide duck-billed Vise Grips hold the layer and a sharp scraper helps pull and separate the peel layer.
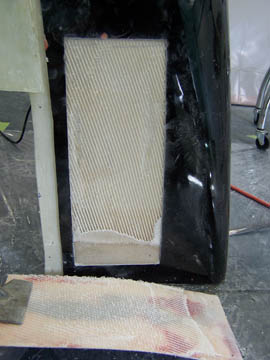
All done. No, but very happy with the way the layer peeled off. It yields a depression slightly deeper than the thickness of the sheet metal. Perfect!
Previous Day | HOME | Next Day |
|||||||||
| ... | ||||||||||
| The page contains Kathleen Evans RV-7l of Redding CA. | ||||||||||